
 Svenska
Cart
Your cart is empty, but doesn't have to be..
Your cart is empty, but doesn't have to be..
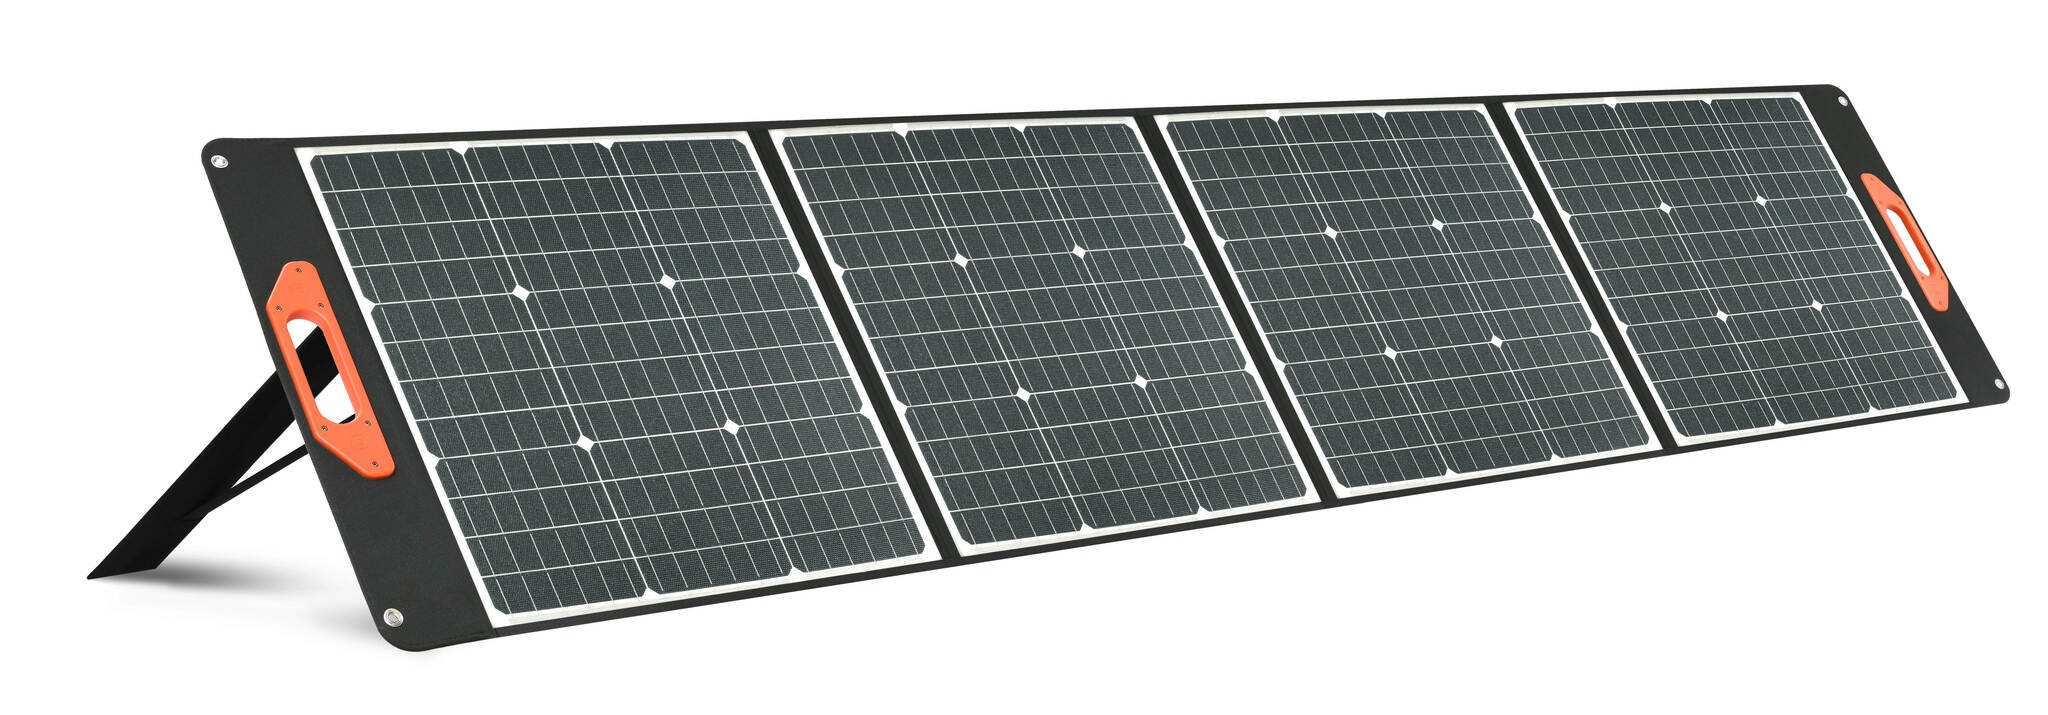
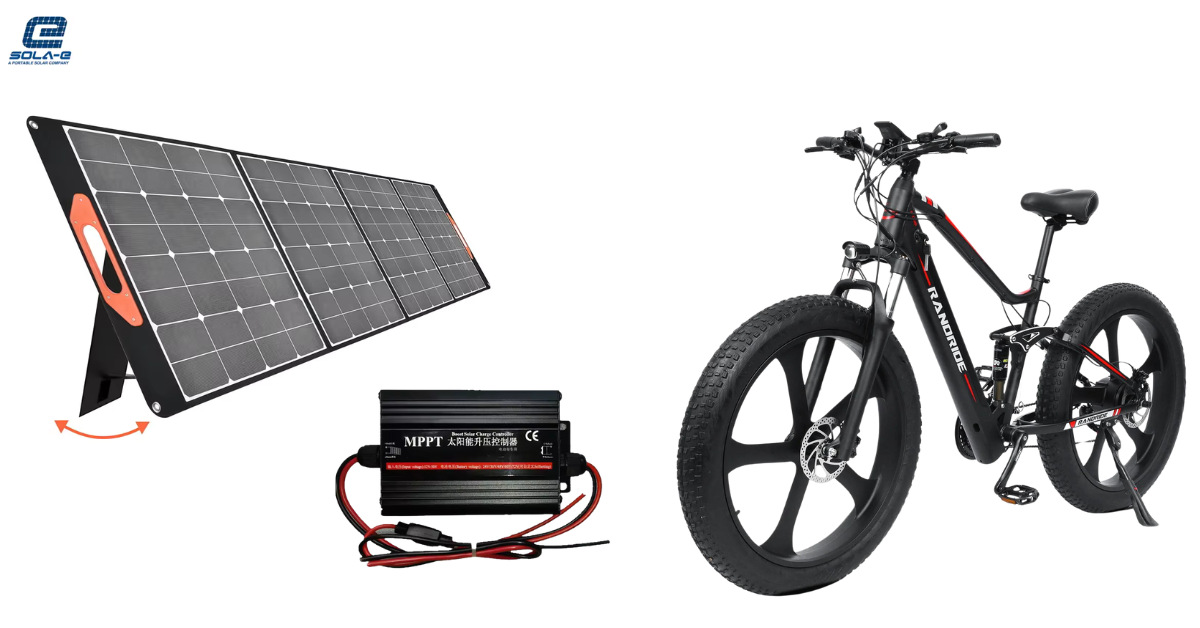
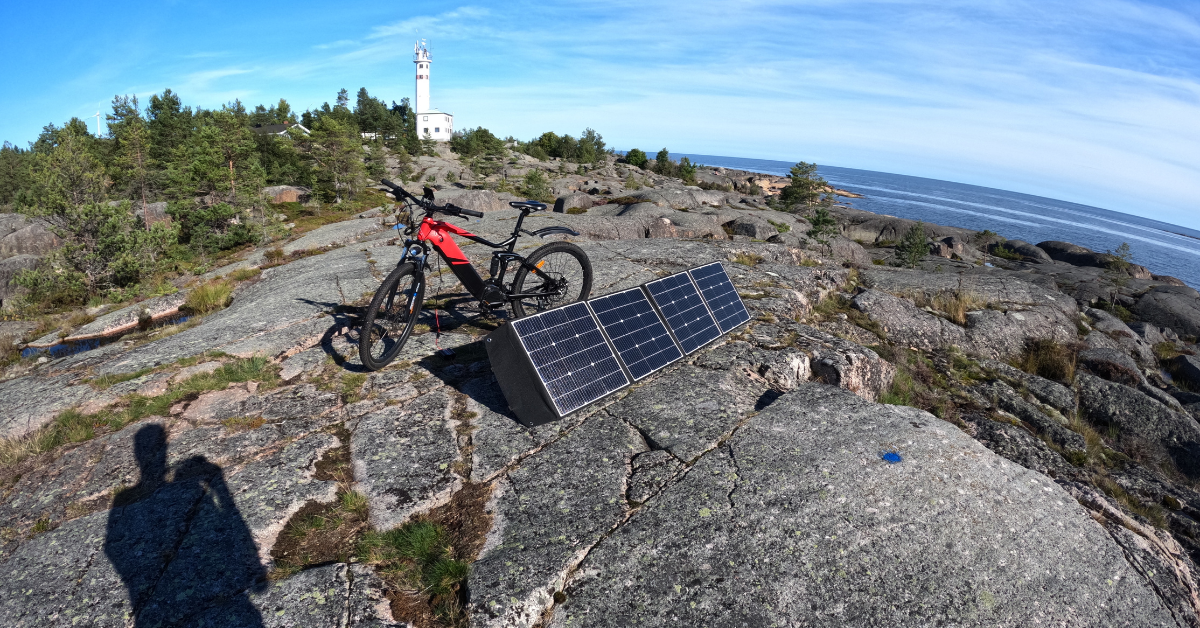
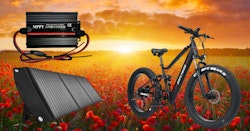
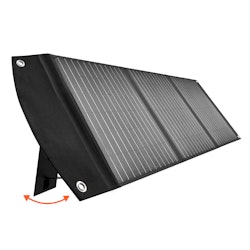
Now you can cycle far with the Sola E-Solpanel for electric bikes, the solar panel is a full 200W. It is the perfect solution to take advantage of solar energy when the battery starts to run out, you can stop to take advantage of the sun's rays. The solar panel has support legs on the back and can also be hung.
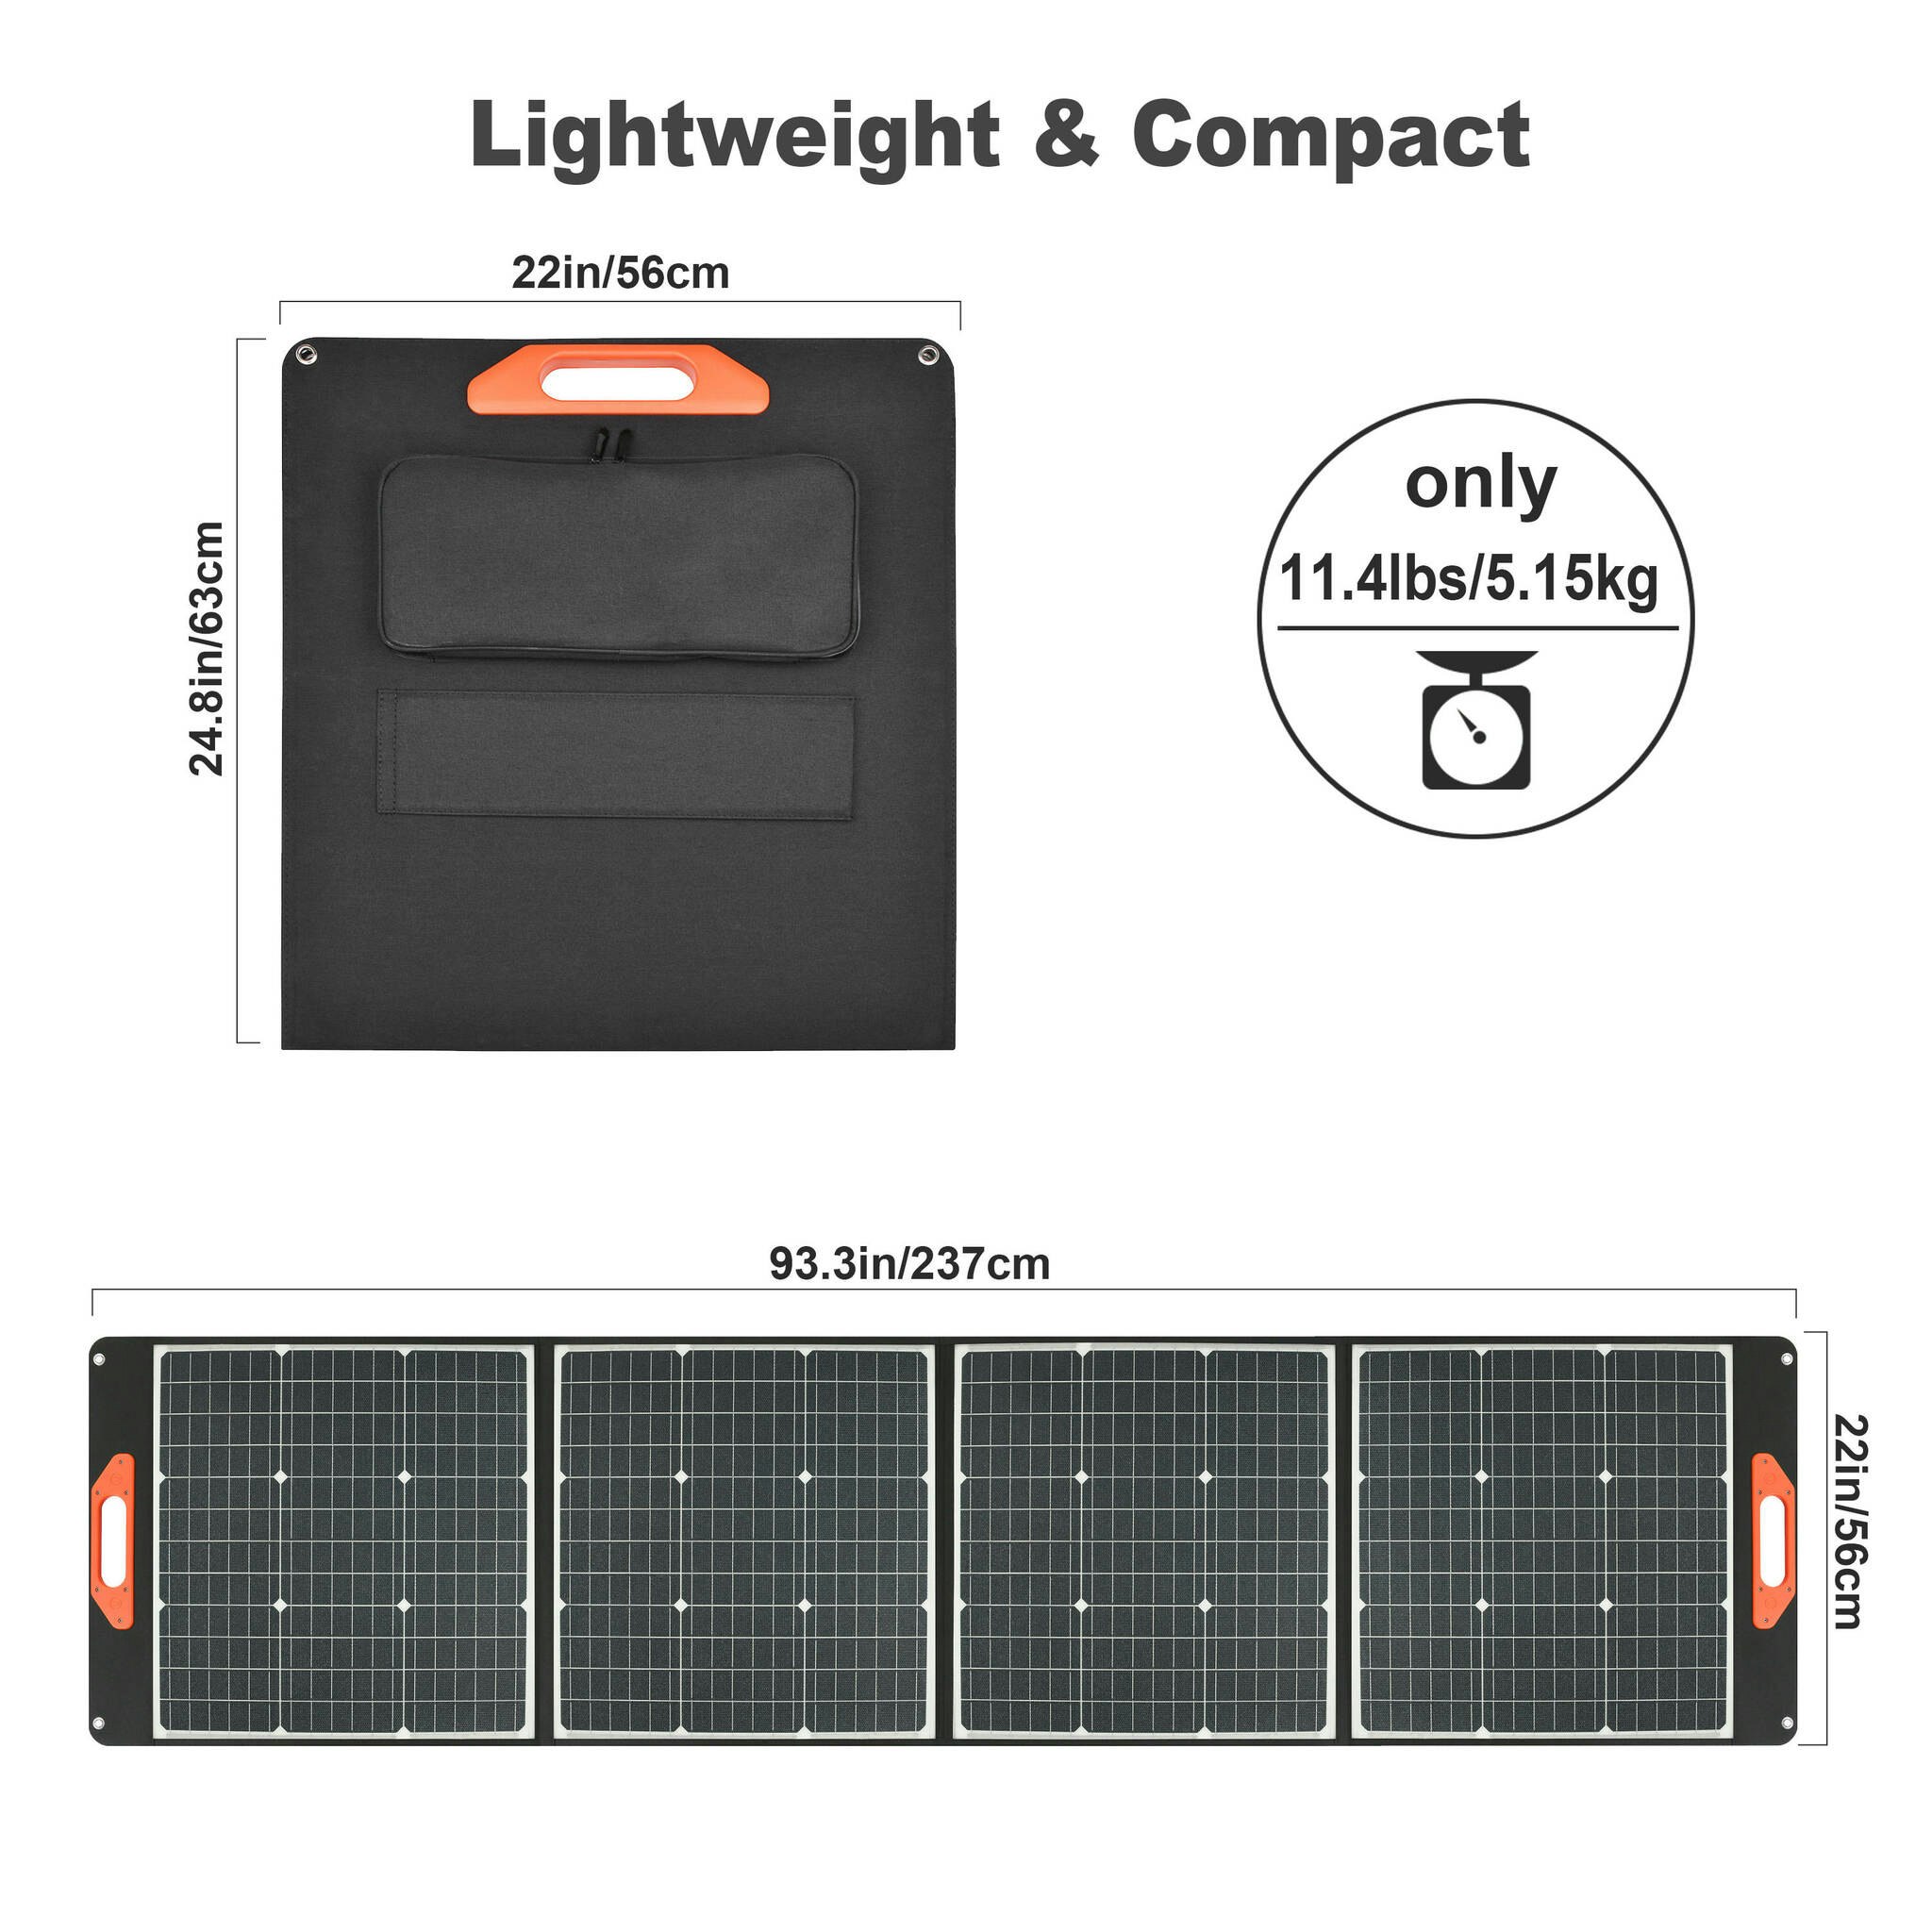
With its portable, flexible and foldable design, you can pack it in your bag or put it on the luggage rack, basket so you can take it with you on your bike trip even when you are traveling or camping. Its cells provide an efficiency of 20.3-22.4%, which means it can deliver up to 200W. The panel has CE/ROHS/FCC certificates and a 12-month warranty. It is made of fabric and ETFE/PET lamination, and has a black fabric color that blends in, making it perfect for charging your electric bike anywhere when needed. A fully charged 48V 15Ah battery takes about 3-4 hours.
Sola E-Solpanel Electric Bike 200W is the perfect solution to take advantage of solar energy, you can also charge your mobile, laptop, powerbanks etc. with the USB port on the solar panel. You do not need a power source when the source comes directly from the sun.
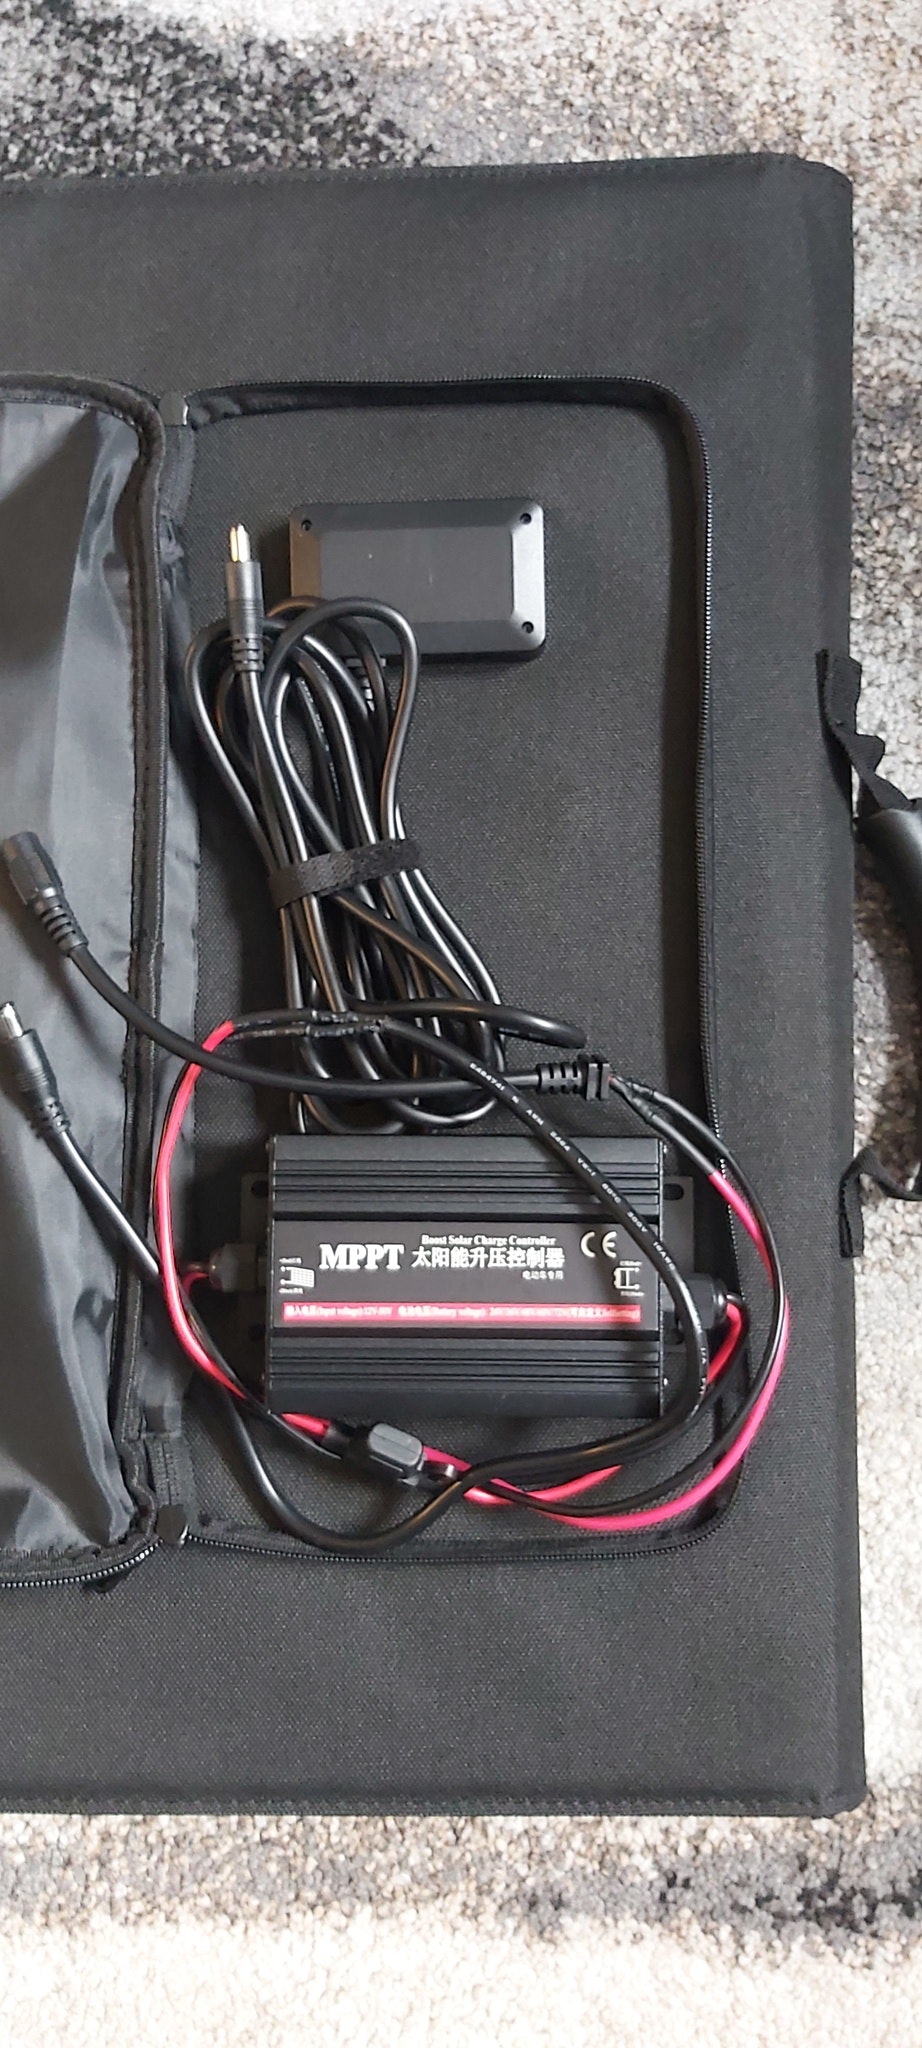
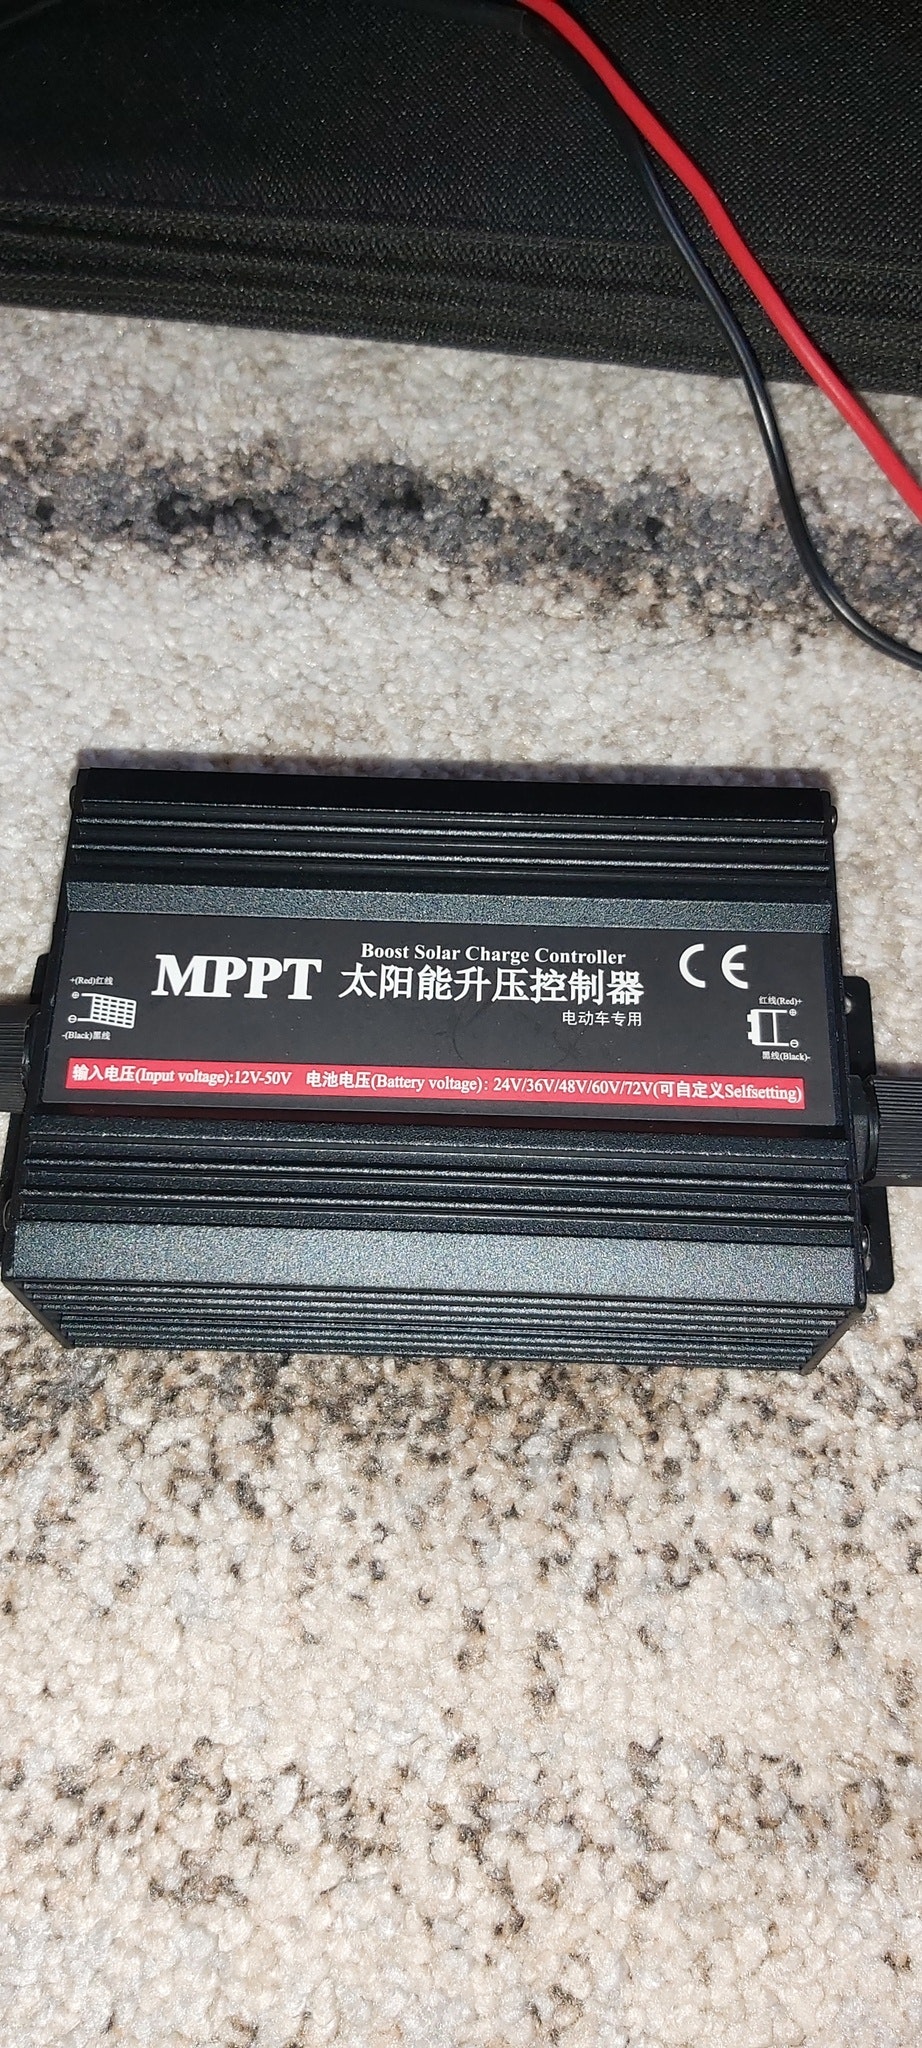
The solar panel is rainproof, the controller that converts to 48V is not the one you can put under the panel if it starts to rain. The controller is adjustable from 24V / 36V / 48V / 60V / 72V, or if your battery is not that voltage you can configure.
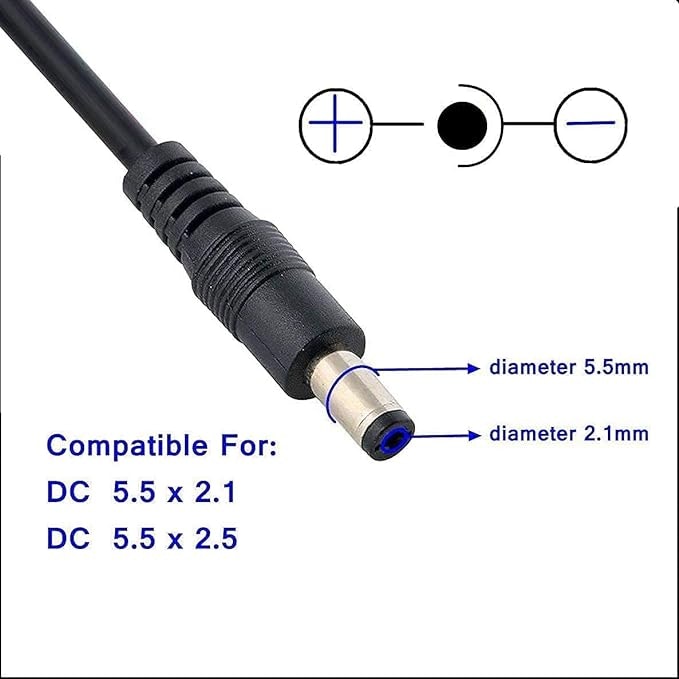
Fits all electric bikes with DC5.5 2.1 connector or write in a message which connector you have on the battery for your electric bike (ex DAYLYRIDE ACCOLMILE FRIEND etc. have DC5.5 2.1 connector)
The controller is set to 48V from the factory so just start charging.
The panel efficiency in full sunlight is 21%-22.5%
Cable length 380cm easily connects with controller.
Folded size 54x54cm
Unfolded size 2.46m long 54cm wide 25mm thick.
Weight 5.1kg
Ce
1. User guide for this charger controller:
2. Connect the solar panel and make sure not to connect it to the opposite polarity. The LED indicator "solar panel" on
this charge controller will light up if it is connected correctly. The solar panel must be placed outdoors completely;
3. Connect the battery and make sure not to connect it to the opposite polarity. The solar panel charging current will
be ON if the battery is connected correctly.
4. If the battery voltage of the electric bike is 60V, 72V, it is suggested to use a solar panel with open circuit voltage above 30V, to get
higher charging efficiency.
Buttons Introduction:
1. The LED display button normally displays the voltage and current of the solar panel and the battery voltage alternately in three
second intervals.
"P+" means the current voltage of the solar panel;
"C+" means the current charging current of the solar panel;
"B+" means the current battery capacity;
2, Short press the "SET" button to turn ON or OFF the LED display;
3, Long press the "SET" button for 5 seconds, the display will display the rated capacity of the battery, if the result is a value starting with
an "F", it means the full charging capacity of the battery that you have configured.
4, Long press the "SET" button for 10 seconds, the green indicator will be OFF and the value on the display will flash, it means
that you have entered the battery voltage configuration mode, now release the button, and each time you press the
button, the display value will display a number. The second and third digital display will show the corresponding number under the mode,
select the voltage you need and long press the button for 10 seconds. When the display has four digital flashes and the
green indicator is on, it means the configuration is stored.
To adjust the charging voltage, enter the "SELF" mode, when "SELF" flashes, long press the "SET" button for
5 seconds, each time you press the button, it will display the corresponding number in this mode. If you long press it, the numbers
will change quickly, after you get the correct voltage, the configuration can be stored automatically.
Configuration example:
(1) The default voltage of our charge controller is 48V, and if you need to change it to 60V. Now long press the "SET" button
for 10 seconds, the green indicator will turn off, the display will flash, release the button and gently press the button to select
the voltage, until you see it shows 60. And then press the button for 10 seconds again, the green indicator will light up, four
digital displays will flash, it means the configuration is complete.
(2) To customize the charging voltage for lithium batteries, or lithium iron phosphate battery, because these batteries have a
different full charge battery voltage, you need to configure "SELF". Take 59V as an example: Press the "SET" button for 10 seconds,
the green indicator will turn OFF, the display will flash, release the button and gently press the button to select voltage
until you see "SELF". Then press the "SET" button for 5 seconds, the display will show a number starting with the letter "F" and
flash. (The letter "F" means "full charge") Release the button and adjust the voltage by pressing it until you get the correct voltage. Release the button and then let it flash for 10 seconds, the configuration is stored.


